Essential Steps for Installing a Residential Fence in Melbourne
Table Of Contents
Preparing the Installation Site
A successful fence installation begins with a well-prepared site. Start by examining the area where the fence will be placed, noting any obstacles such as rocks, tree roots, or structures that could interfere with the installation. Removing these obstacles early can save time and effort later in the process. It's also essential to check local regulations and property lines to ensure compliance and avoid disputes with neighbours.
Next, clearing the site of debris and vegetation is crucial. This step not only provides a clean canvas for the installation but also allows for a clearer view of the desired layout. Tools like rakes, shovels, and sometimes a chainsaw may be necessary to remove larger plants or shrubs. Taking the time to fully prepare the site will facilitate a smoother installation process and contribute to the overall durability of the fence.
Clearing Debris and Vegetation
Before beginning the installation of a residential fence, it is crucial to prepare the area thoroughly. This involves removing any debris, rocks, or old fence materials that may hinder the process. Vegetation such as grass, shrubs, or trees should also be considered. Clearing these obstacles not only simplifies the installation but ensures that the fence remains stable over time.
Care should be taken to properly dispose of any materials removed from the site. Large rubbish may require special disposal services, while organic materials can often be composted. It is beneficial to assess the ground after clearing to identify any remaining roots or uneven surfaces. This attention to detail will facilitate a smoother installation process and contribute to the longevity of the fence.
Marking Post Locations
Before proceeding with the installation, it's essential to determine the precise locations of the fence posts. Utilising a tape measure, mark the spacing according to your chosen fence design, typically ranging from 1.8 to 3 metres apart. It's wise to consider gate placement and any bends in the fence line at this stage. Once the measurements are confirmed, use stakes or flags to signify where each post will go. This visual aid simplifies the building process and provides a clear reference when setting the posts.
To ensure accuracy in the layout, string lines can be employed to create a straight line between the marked post locations. Begin by tying one end of the string to the first stake and stretch it towards the next, adjusting for any variations in the terrain. This method not only aids in maintaining alignment but also helps in visualising the fence's final appearance. After the strings are taut and level, double-check the distances between the posts before moving on to the next phase of installation.
Using String Lines for Accuracy
Establishing a straight and uniform line for your fence is crucial for both aesthetics and structural integrity. Utilising string lines can help achieve this goal effectively. Begin by attaching one end of the string to a stake at the starting point of your fence line, ensuring it is secure. Stretch the string taut to the next post location, adjusting the height as necessary to maintain an even plane along the intended path. This creates a visible guide that simplifies the process of setting each post properly.
Once the string is secured, walk along the line to assess the overall alignment. Any discrepancies or curves can be noted for later adjustments. This method not only enhances quality but also saves time by reducing rework. Regularly check the tension of the string to prevent sagging, which could distort the accuracy of your fence’s layout. Observing these practices ensures your posts are set in a precise straight line, leading to a more professional finish.
Setting the Fence Posts
Proper placement of fence posts is crucial for the durability and strength of the structure. Begin by digging holes to the required depth, typically around 600mm, depending on the height of your fence and local regulations. Make sure the holes are wide enough to accommodate the posts while allowing for any necessary concrete. For standard fences, a depth of one-third the height of the post is generally a good rule. Use a spirit level to check that the post is vertical before securing it in place.
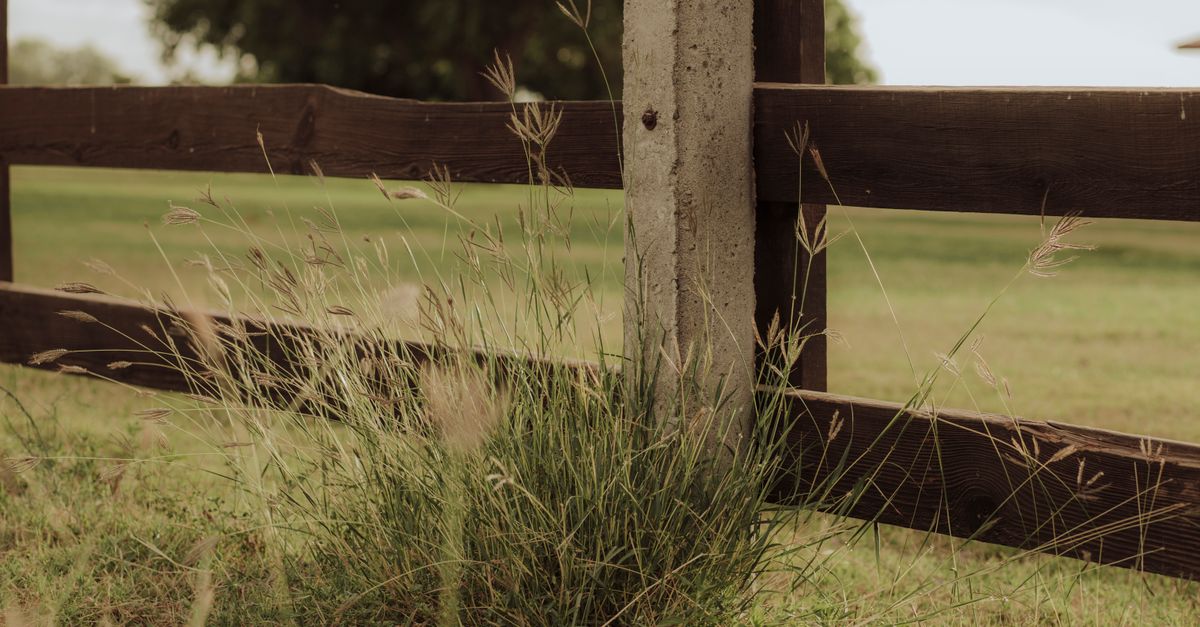
After positioning the post, fill the hole with concrete for stability. Pour the concrete around the post, ensuring it surrounds the entire base and eliminates any gaps. As the concrete sets, it's important to hold the post steady, checking its alignment frequently. This method not only locks the post securely in place but also prevents any future movement that could compromise the fence's integrity. Ensure the concrete is allowed to cure fully before proceeding with the remainder of the fence installation.
Ensuring Proper Depth and Stability
Achieving the right depth for fence posts is crucial for long-lasting stability. In Melbourne’s varying weather conditions, posts that are set too shallow may shift over time, causing the fence to lean or become unstable. A general guideline is to dig holes that are one-third the height of the post above ground. For example, with a 1.8-metre fence, the hole should be around 600 millimetres deep. This depth will help the posts resist the pressure from wind and soil movement.
When placing the posts into the holes, checking their vertical alignment is key. Use a level to ensure the posts are straight before securing them in place. To enhance stability, consider using a concrete mix to set the posts, allowing it to cure for the recommended time before attaching any panels or rails. This additional weight provides a solid foundation, preventing any future wobbling and ensuring your fence remains upright throughout its lifespan.
FAQS
What permits do I need to install a residential fence in Melbourne?
In Melbourne, you may require a building permit depending on the height and type of fence you plan to install. It's advisable to check with your local council for specific regulations and requirements.
How deep should I set my fence posts?
Typically, fence posts should be set at least one-third of their length into the ground to ensure stability. For standard fences, a depth of around 600mm is generally recommended.
What tools do I need for installing a residential fence?
Basic tools for fence installation include a post hole digger, a level, a tape measure, string line, a hammer, and concrete mix for securing the posts.
How can I ensure my fence is straight and properly aligned?
Using string lines is an effective method to ensure your fence is straight. Mark your post locations and run a string line between them to guide your installation.
What should I do if I encounter underground utilities while installing my fence?
It's crucial to contact a utility locating service before digging. If you encounter any underground utilities, stop work immediately and consult the relevant utility provider for guidance.
Related Links
Common Mistakes to Avoid During Fence InstallationUnderstanding the Fencing Installation Process in Melbourne Homes
How Weather Conditions Affect Fence Installation in Melbourne
Choosing the Right Contractor for Your Fence Installation
Best Practices for Securing Permits Prior to Fence Installation
Integrating Utilities and Property Lines in Fence Installation
Preparing Your Property for Fence Installation in Melbourne
Timeline for Residential Fencing Installation Projects
Tools You Need for Successful Fence Installation in Melbourne